
Blog Installation Using the BackupBuddy Plugin
Here’s a step-by-step tutorial on how to install PreMadeNiches PLR blogs on your server with the new cPanel interface and the latest BackupBuddy plugin (version 8.0). The whole process is actually very simple and easy to do and can be done in less than 10 minutes.
The installation process is divided into 3 parts:
Part 1: Upload Installation Files
Part 2: Create MySQL Database
Part 3: Run the Installation Script
This method is good for:
- Blank domain name, meaning no WordPress site installed.
- Webhosts that use cPanel and allow MySQL creation
- Technically inclined webmasters
For this guide, it is assumed that you already have a Web host account that uses cPanel as a control panel. Also, it is assumed you have your own domain name ready.
Make sure your domain name is pointed to your webhost.
If you are installing this blog on an AddonDomain or to a subdomain, make sure that addon domain or subdomain is working.
WARNING: DO NOT install WordPress on the destination server. The importbuddy script will install all files, including WordPress. It is therefore advised that you delete any existing WordPress files to avoid installation conflicts.
NOTE: If you happen to have WordPress installed already or simply wanted to replace an old site, please see this guide instead: Blog Installation Using the All-in-One WP Migration Plugin
Looking for Video Tutorial? Click here to Watch Video Tutorial
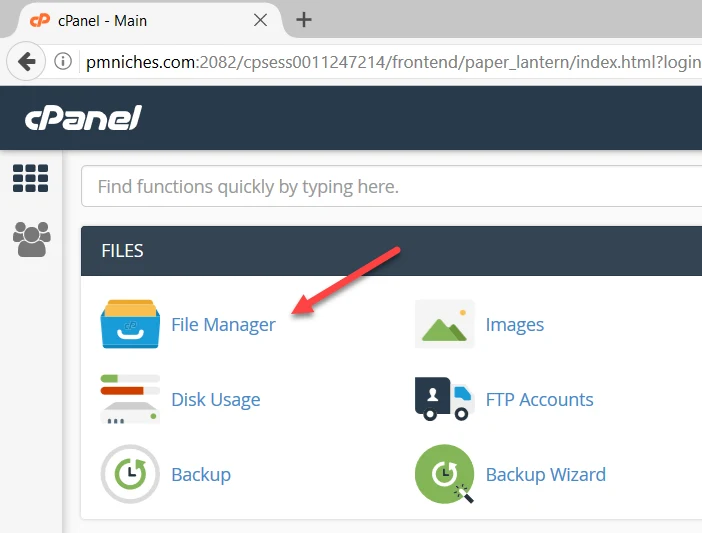
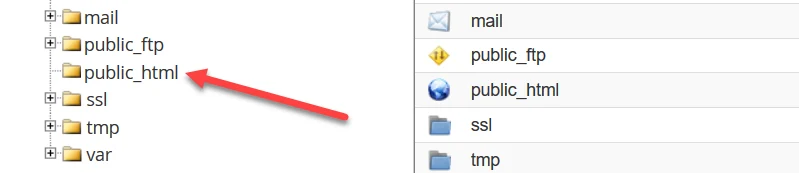
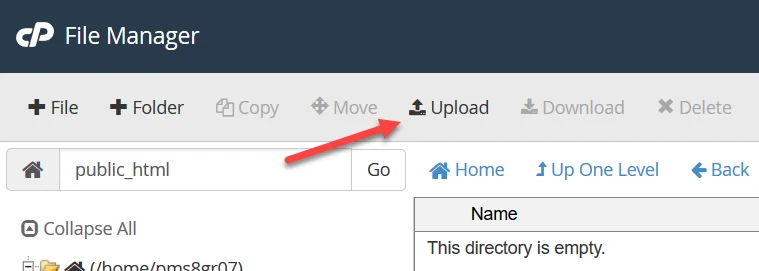
Part 1. Upload Installation Files
You may use WinZip or WinRAR. Free WinZip version is usually pre-installed on most Windows-based computers.
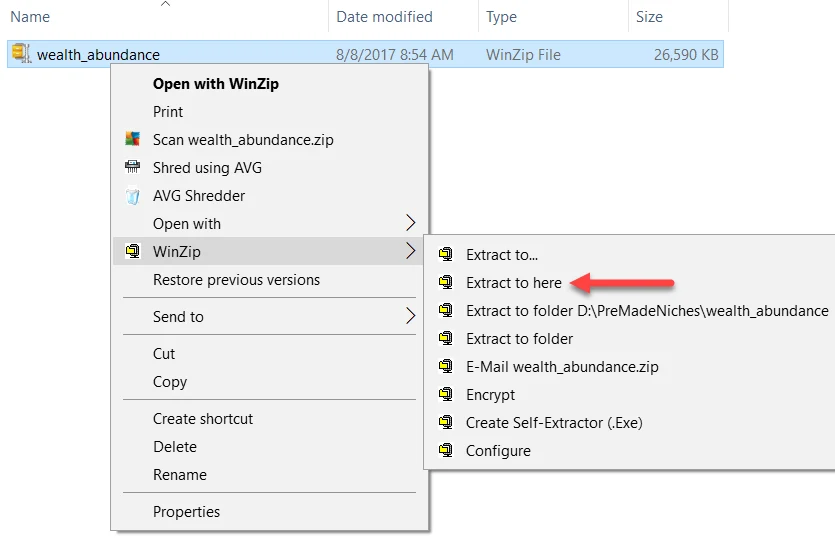
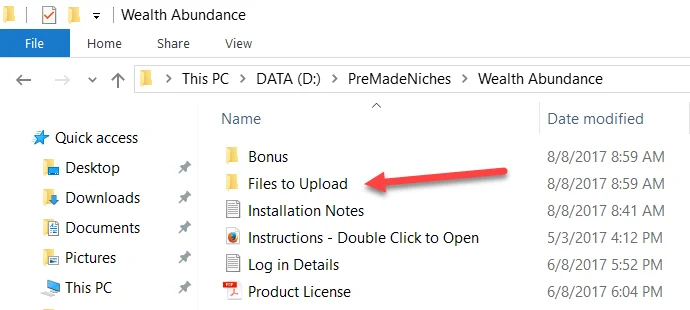
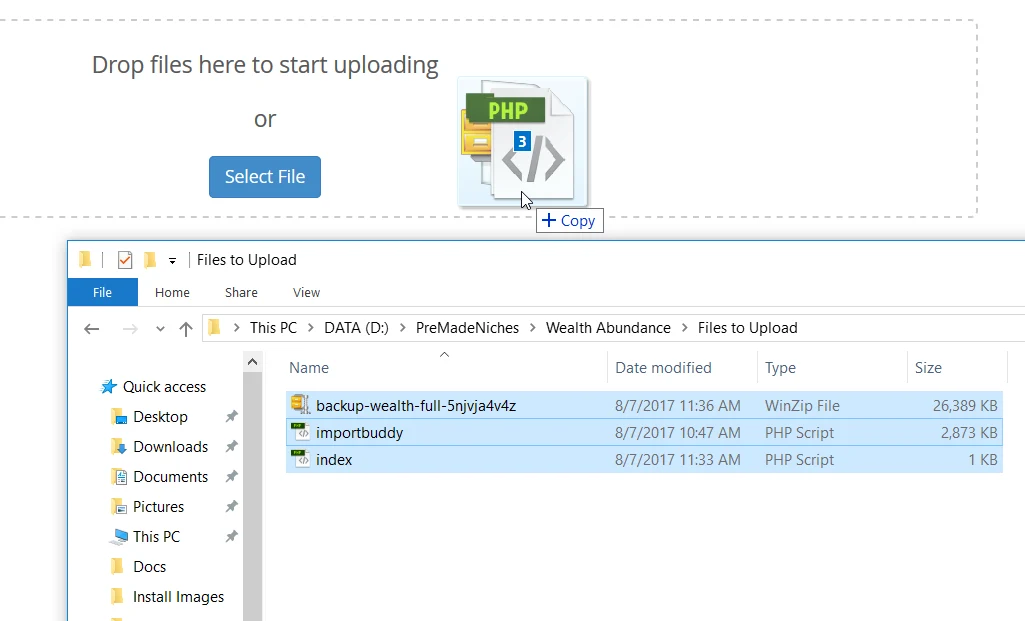
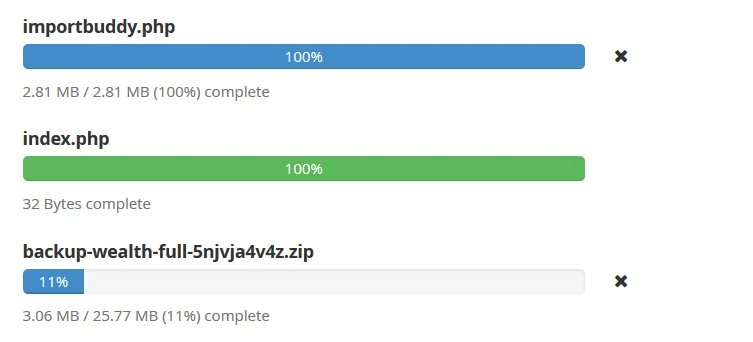
The “Files to Upload” folder contains 3 files: index.php, importbuddy.php, and the “backup file“. The backup file is usually in a “backup-blogname-full-some78ue.zip” filename format so in this demo it is “backup-wealth-full-5njvja4v4z.zip“.

You’re going to upload all 3 files. DO NOT unzip the backup file.
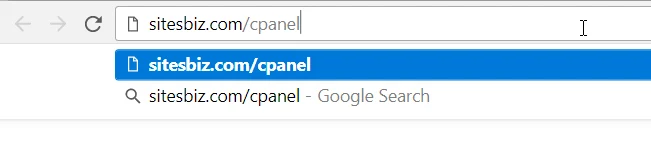
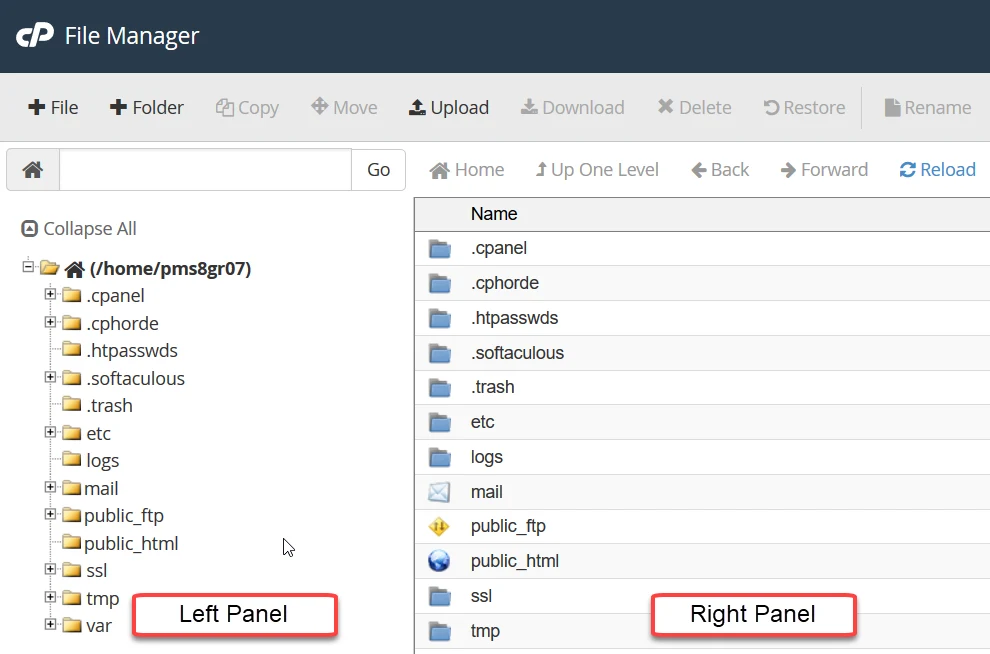
Feel free to use your favorite FTP software but for this demo, we’ll use the built-in cPanel uploader.
The url login address:
The login box:
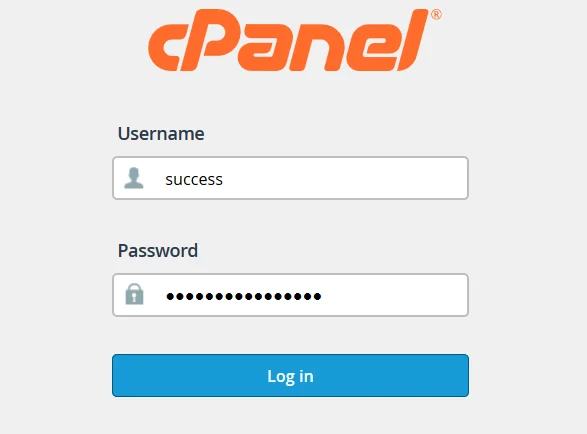
Note: Make sure your domain’s DNS is already pointed to your webhost for this setup to work properly.
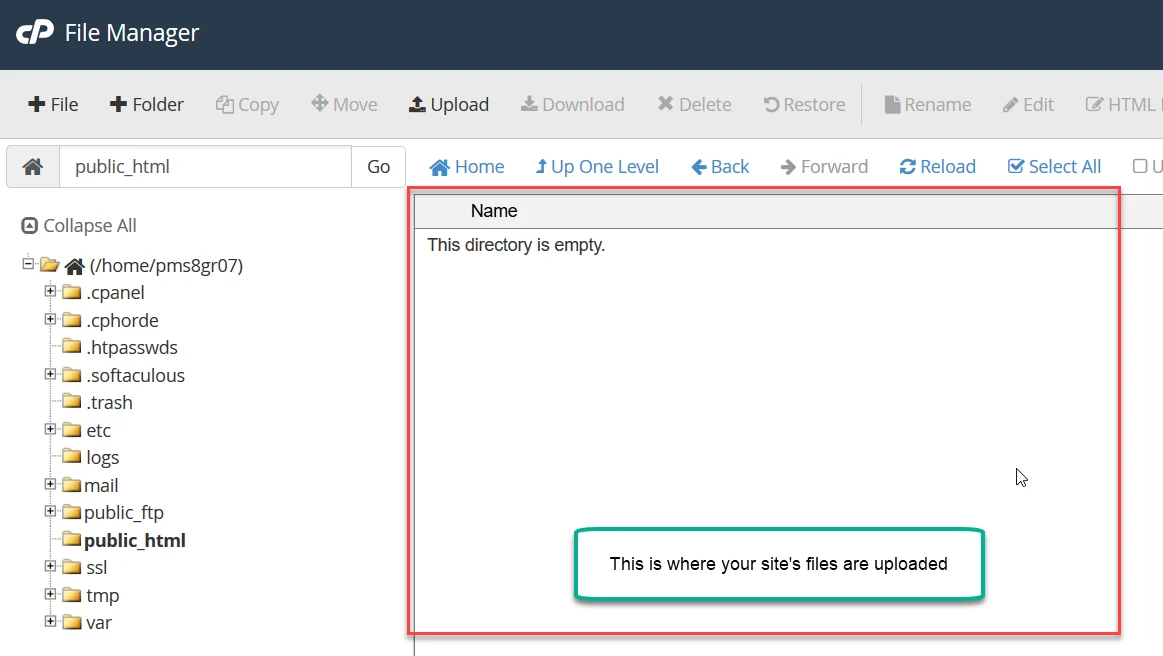
NOTE: If this is a newly purchased webhost, it’s normal to see some extra html and CSS files automatically included by the host. Delete those extra files.
Navigate to where the “Files to Upload” folder is located on your computer then select the 3 files one by one.
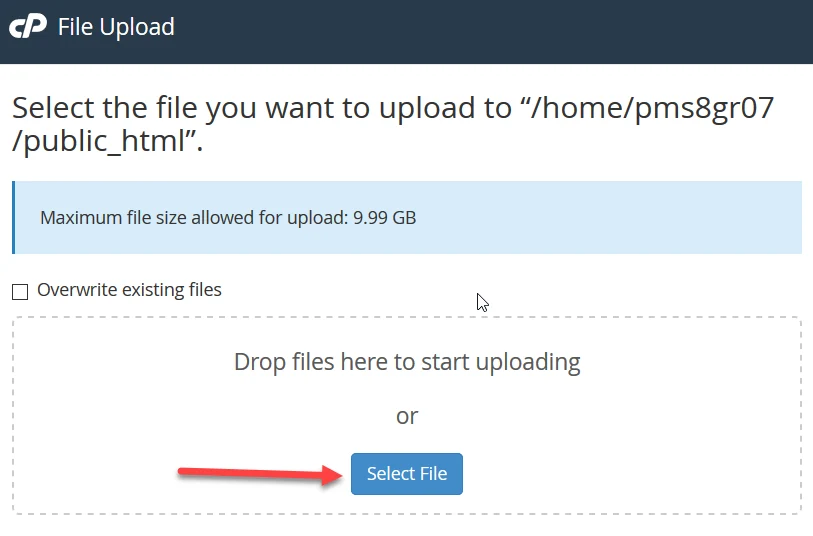
Or simply drag and drop the 3 installation files from your computer.
Part 2: Create MySQL Database

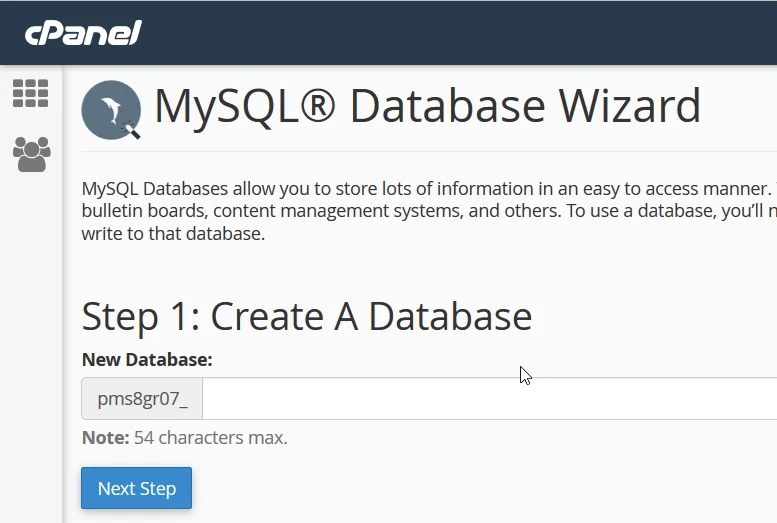
Use the installation notes to record your database info as you create your MySQL. You will be using this info when running the installation script on Part 3 below.

Tip 1: Your database name should be something that will help you recognize from other databases especially if you have already created several or planning to create more databases on your webhost account.
Now that we’ve already created a database name, our installation note should be:
Importbuddy password: premadeniches195
Install URL: http://yourdomain.com/importbuddy.php
Db Name: pms8gr07_mynewblog98475
Db Username:
Db Password:
IMPORTANT! Always include your cPanel login username followed by underscore (_) when writing down your database name and username.
My cPanel login username in this demo is pms8gr07. So my full database name is this:
pms8gr07 + _ + mynewblog98475 = pms8gr07_mynewblog98475
Some hosts, however, like GoDaddy don’t require cPanel username prefix so your database name would be just mynewblog98475 without the pms8gr07_ prefix.
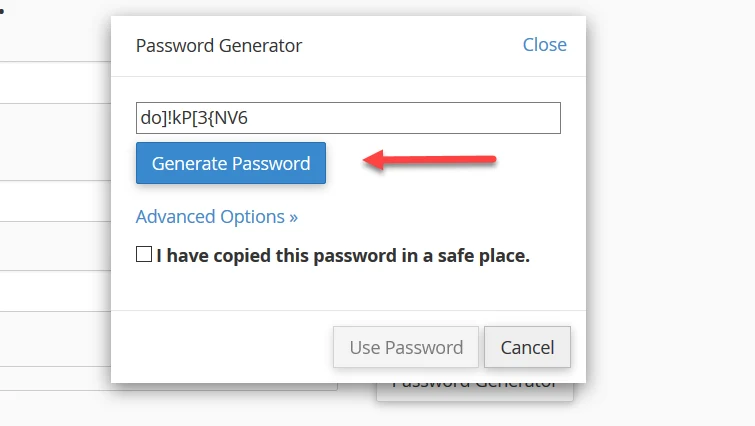
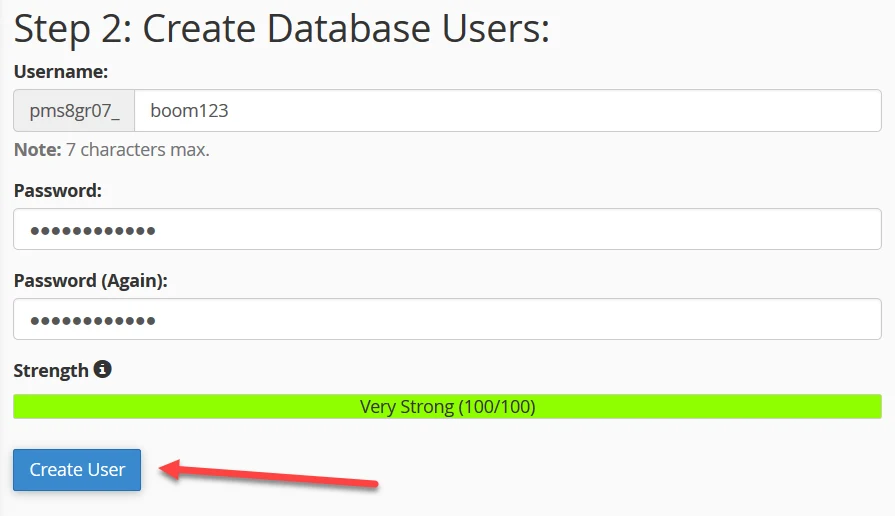
Click Generate Password button to create a new database password.
Importbuddy password: premadeniches195
Install URL: http://yourdomain.com/importbuddy.php
Db Name: pms8gr07_mynewblog98475
Db Username: pms8gr07_boom123
Db Password: BGDVIop}a+MW
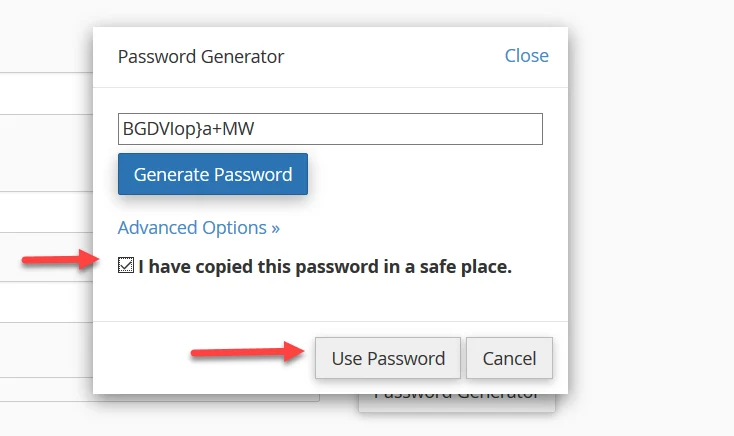
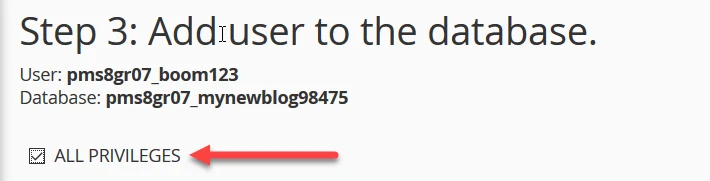
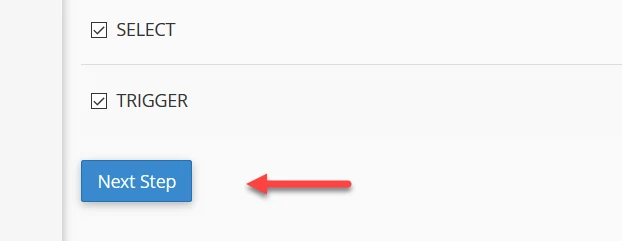
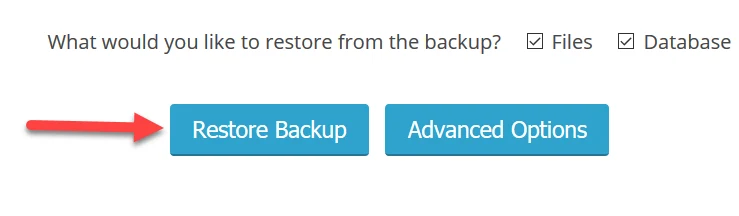
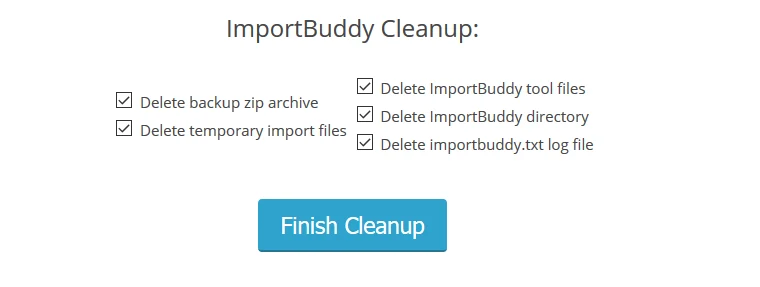
This will automatically check all other tick boxes under it.
Part 3. Run Installation Script


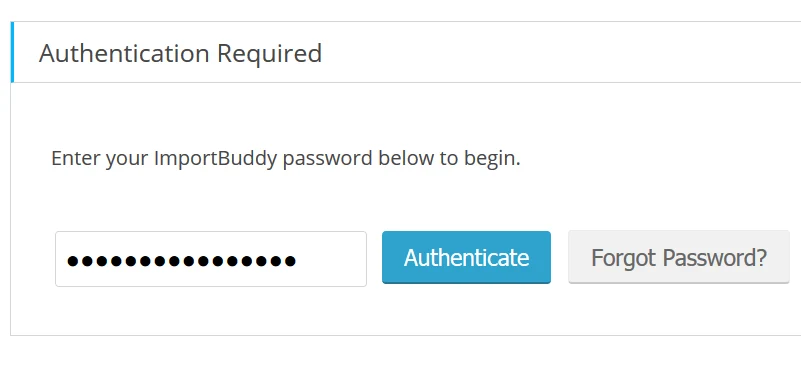
NOTE: The importbuddy password is already included with the “Installation Notes” file.
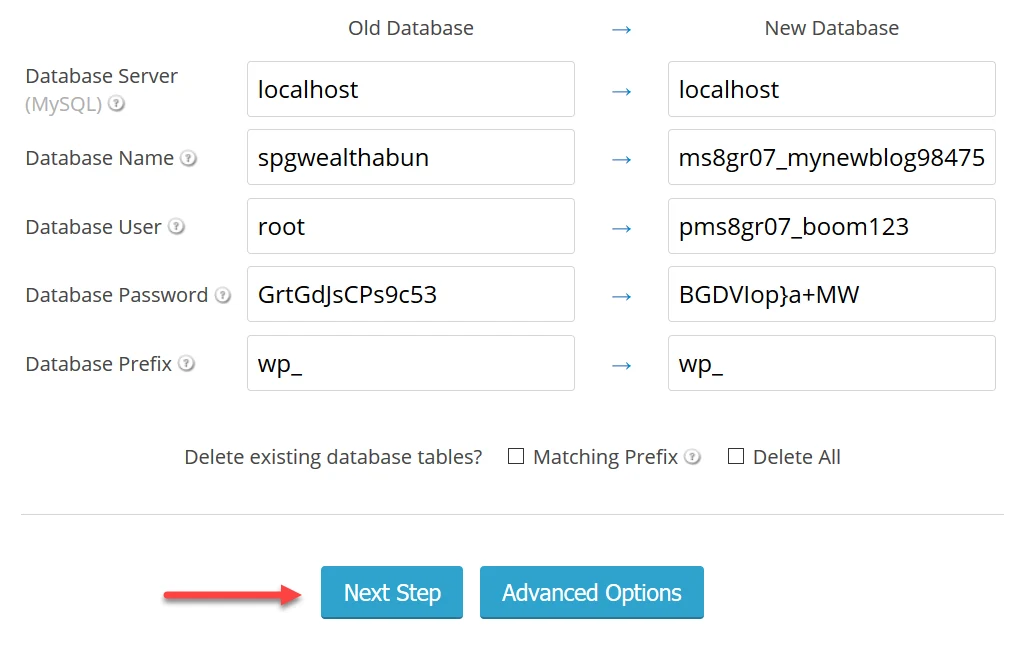
For “Database Server” and “Database Prefix” just click the arrow to copy setting from old server to new server.
So from:
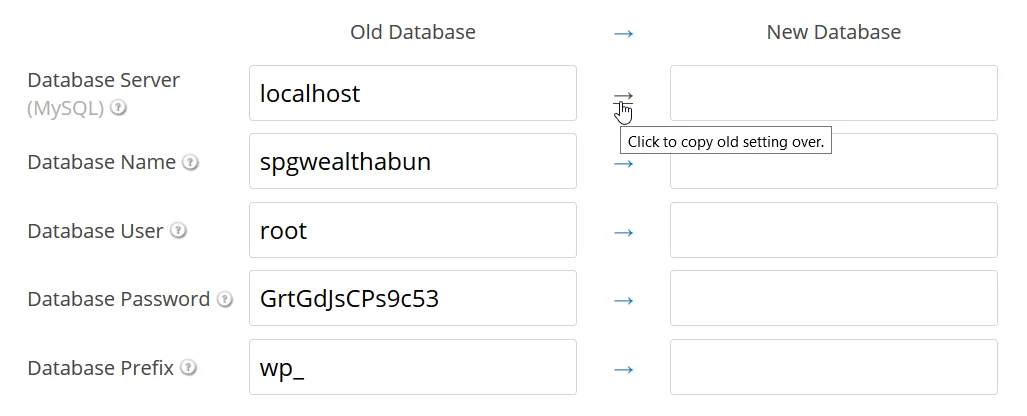
To this:
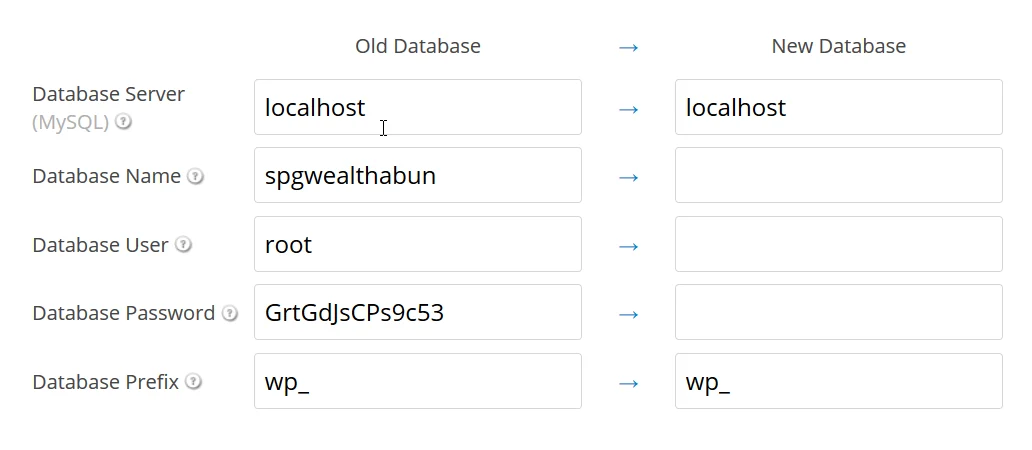
For Database Name, Database User, and Database Password just copy and paste the info from the notepad list you created in Part 2 (MySQL creation).

Conclusion
The installation process is simple and straightforward. After 2 or 3 more successful blog package installations you should already be comfortable and may not need to follow this guide anymore. You can be on your way to set up more niche blogs that can make you good steady passive income in the days to come.
Your feedback, comments, corrections, and suggestions are highly appreciated. We want to make sure our products have the kinds of features and functionality that will be useful to you and allow us to give you the best value that we possibly can.
Based on your feedback, you can help us decide what are the most important things to work on with future updates.
You can now Login to Your New WordPress Site to Replace Affiliate Links.
IMPORTANT: After installing your ready-made blogs make sure to update WordPress and all themes and plugins. Here’s a tutorial on how to do that: Update WordPress, Themes, and WordPress Plugins
P.S. Keep in mind that you don’t need to buy the BackupBuddy plugin license. The plugin was included to help you install the ready-made blog quickly and easily. You may deactivate it after installation.